The area plan
A floor plan with the number and the exhibitor's name written at every booth. In the visitor's hand, in the staff's pocket and in the exhibitor's inbox beforehand.
For trade shows, festivals and markets
Drag the booths and stalls onto the area and they number themselves. Give each one an exhibitor, and the name appears on the plan beside the number. Print the plan and an alphabetical list that finds a booth by name.
Runs in the browser on a computer or tablet. Nothing to install, no account to try it.
On a phone you can browse and show a finished seating plan. Building one goes better on a bigger screen. Email this link to myself
A visitor is looking for the one booth they came for. An exhibitor wants to know where their own booth will be and who the neighbors are. The build crew needs the same information on set-up day, and the staff can only give directions for what they can see on the plan. All four are looking at the same plan for different reasons, and every one of them trusts it to be right.
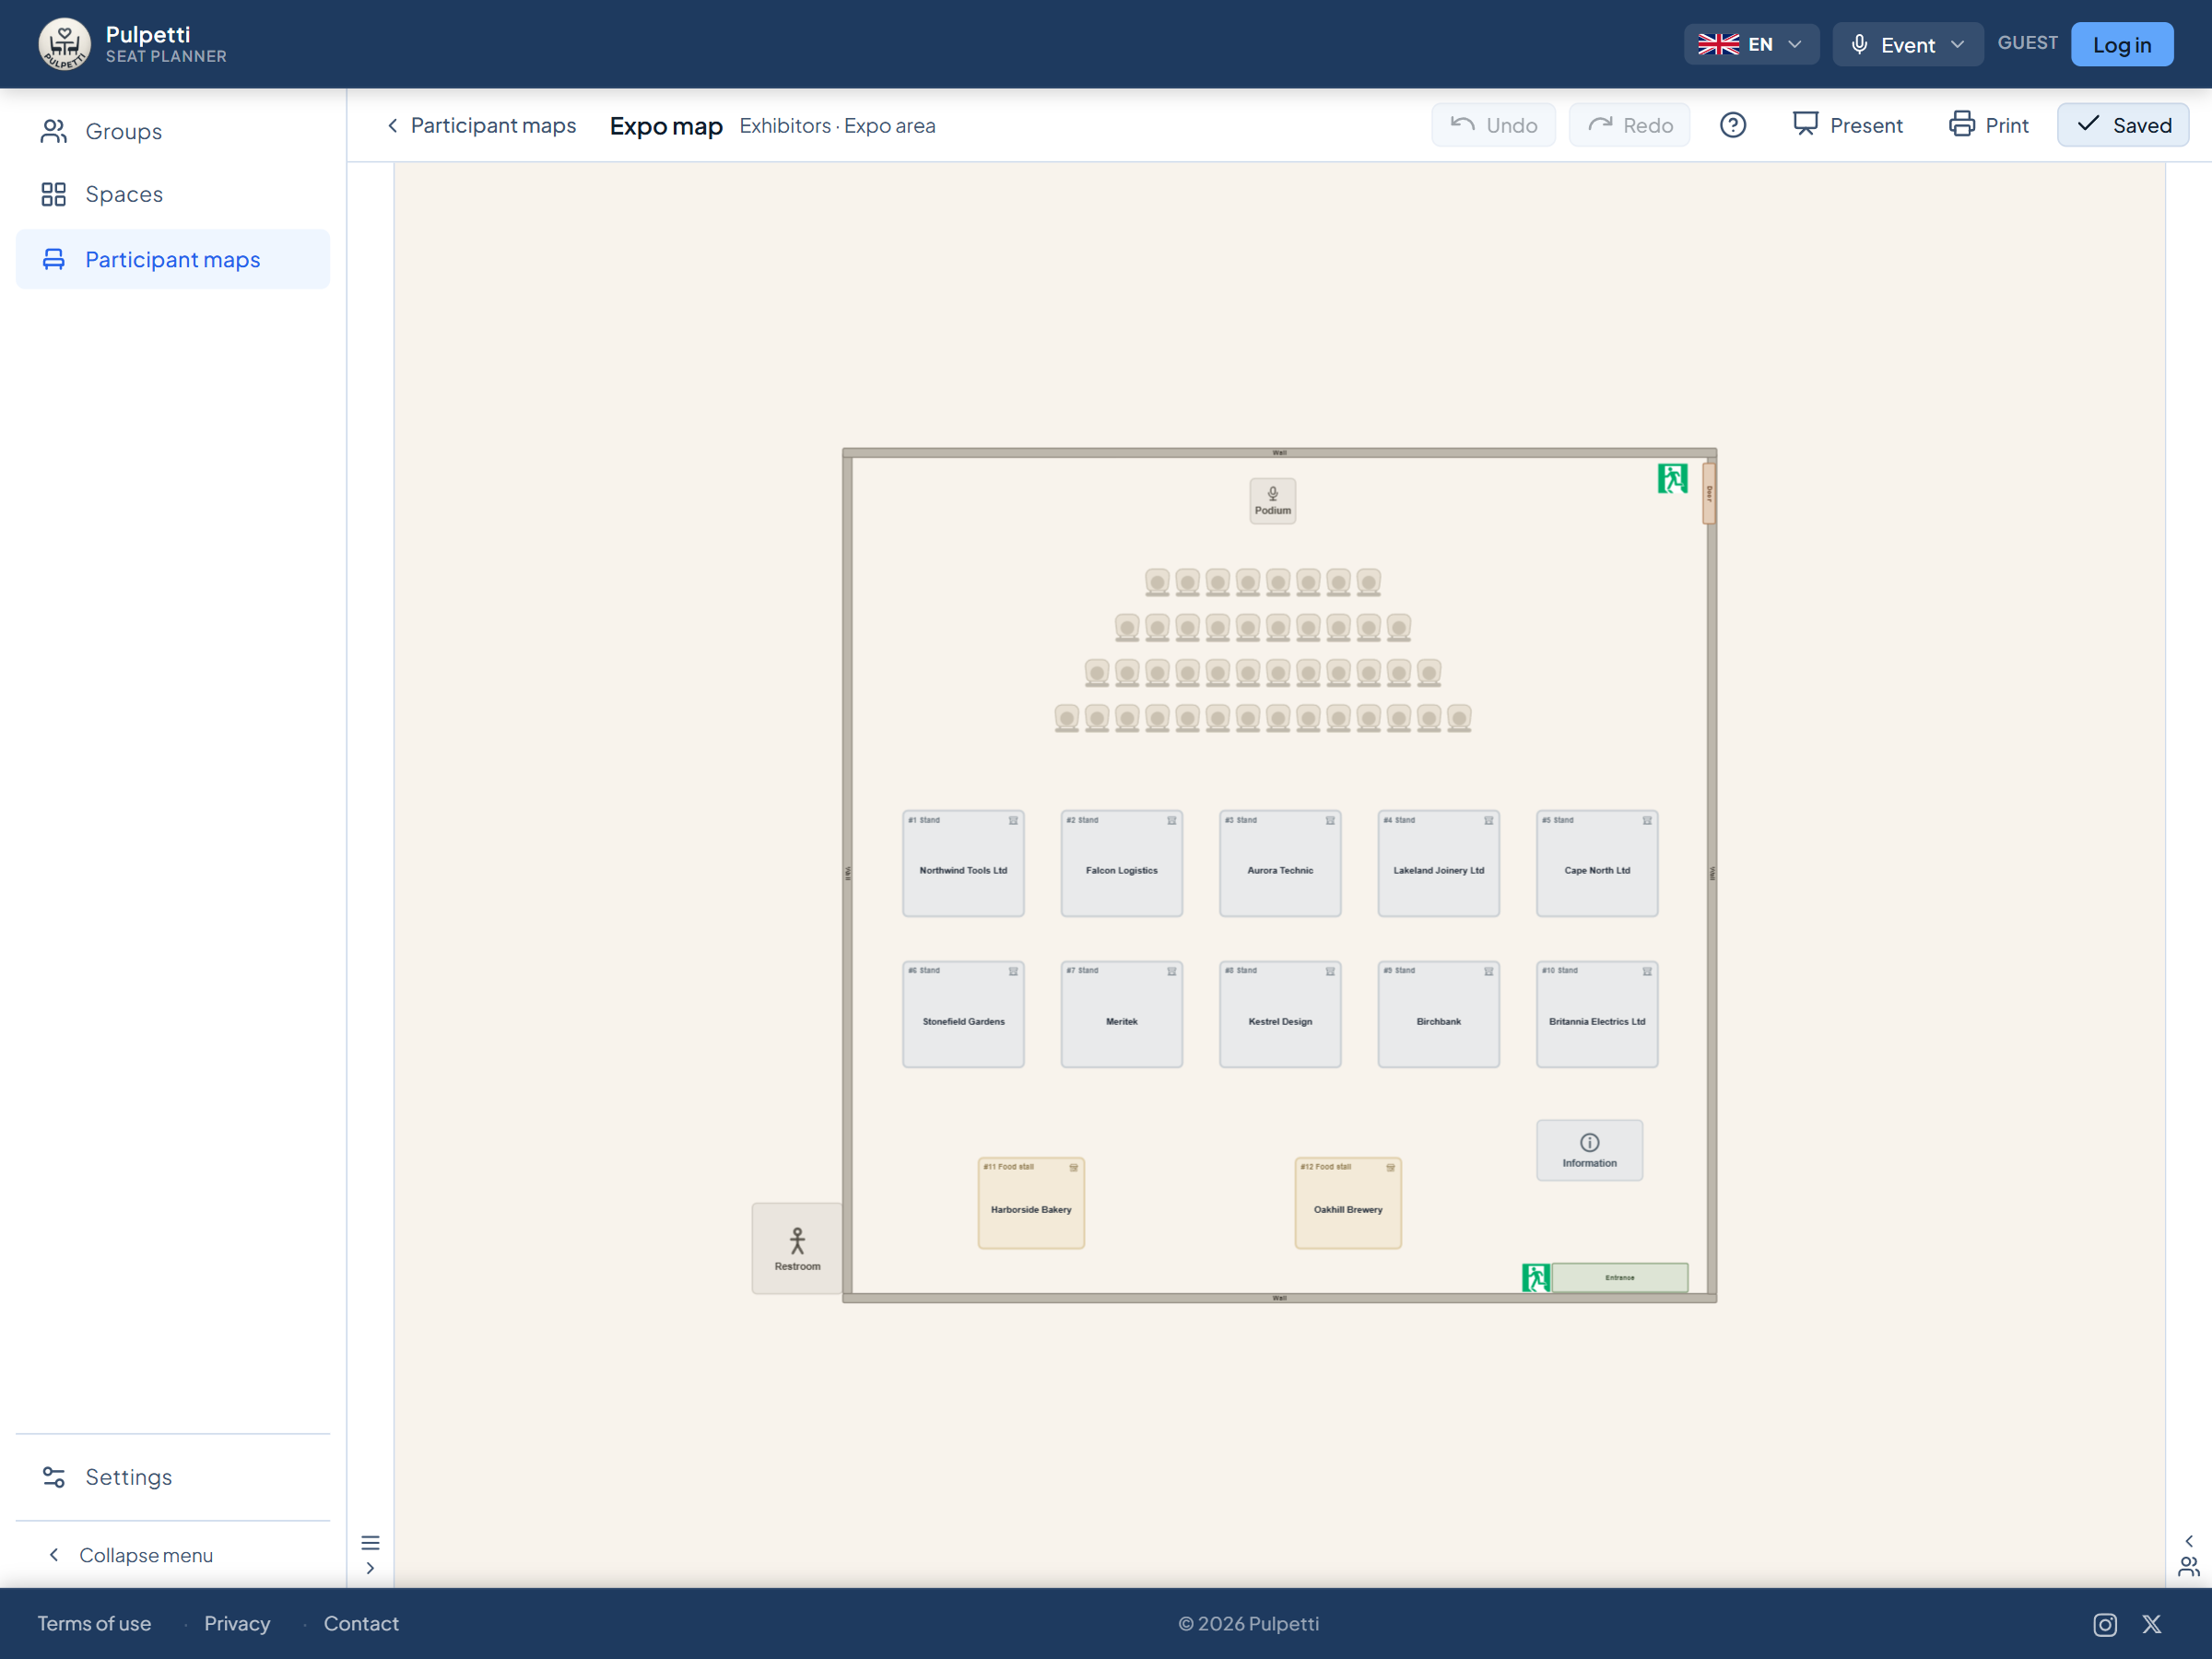
In Pulpetti you draw the area once: booths, food stalls and market stalls in place, entrances and signage included. Booths get running numbers by position, and the number series is their own and does not mix with table numbers. You can also set the numbers yourself.
Each booth takes one exhibitor, and the name appears on the plan beside the number. The same information prints as an alphabetical list that finds a company by name and shows which number to head for — the visitor with the plan, the information desk and the staff without it.
Everything happens in the browser, including on a tablet while walking the site. When a booth moves, you change it on the plan and print again.
Three situations that come up at every event with booths.
The area is drawn once, and the plan and the list stay in step after that.
Type the companies one by one or paste the whole list at once: select the name column in your registration list, copy and paste. Give each one a registration status — registered, no reply or canceled — and, if you like, a tag for the industry and a note about, say, power or water requirements.
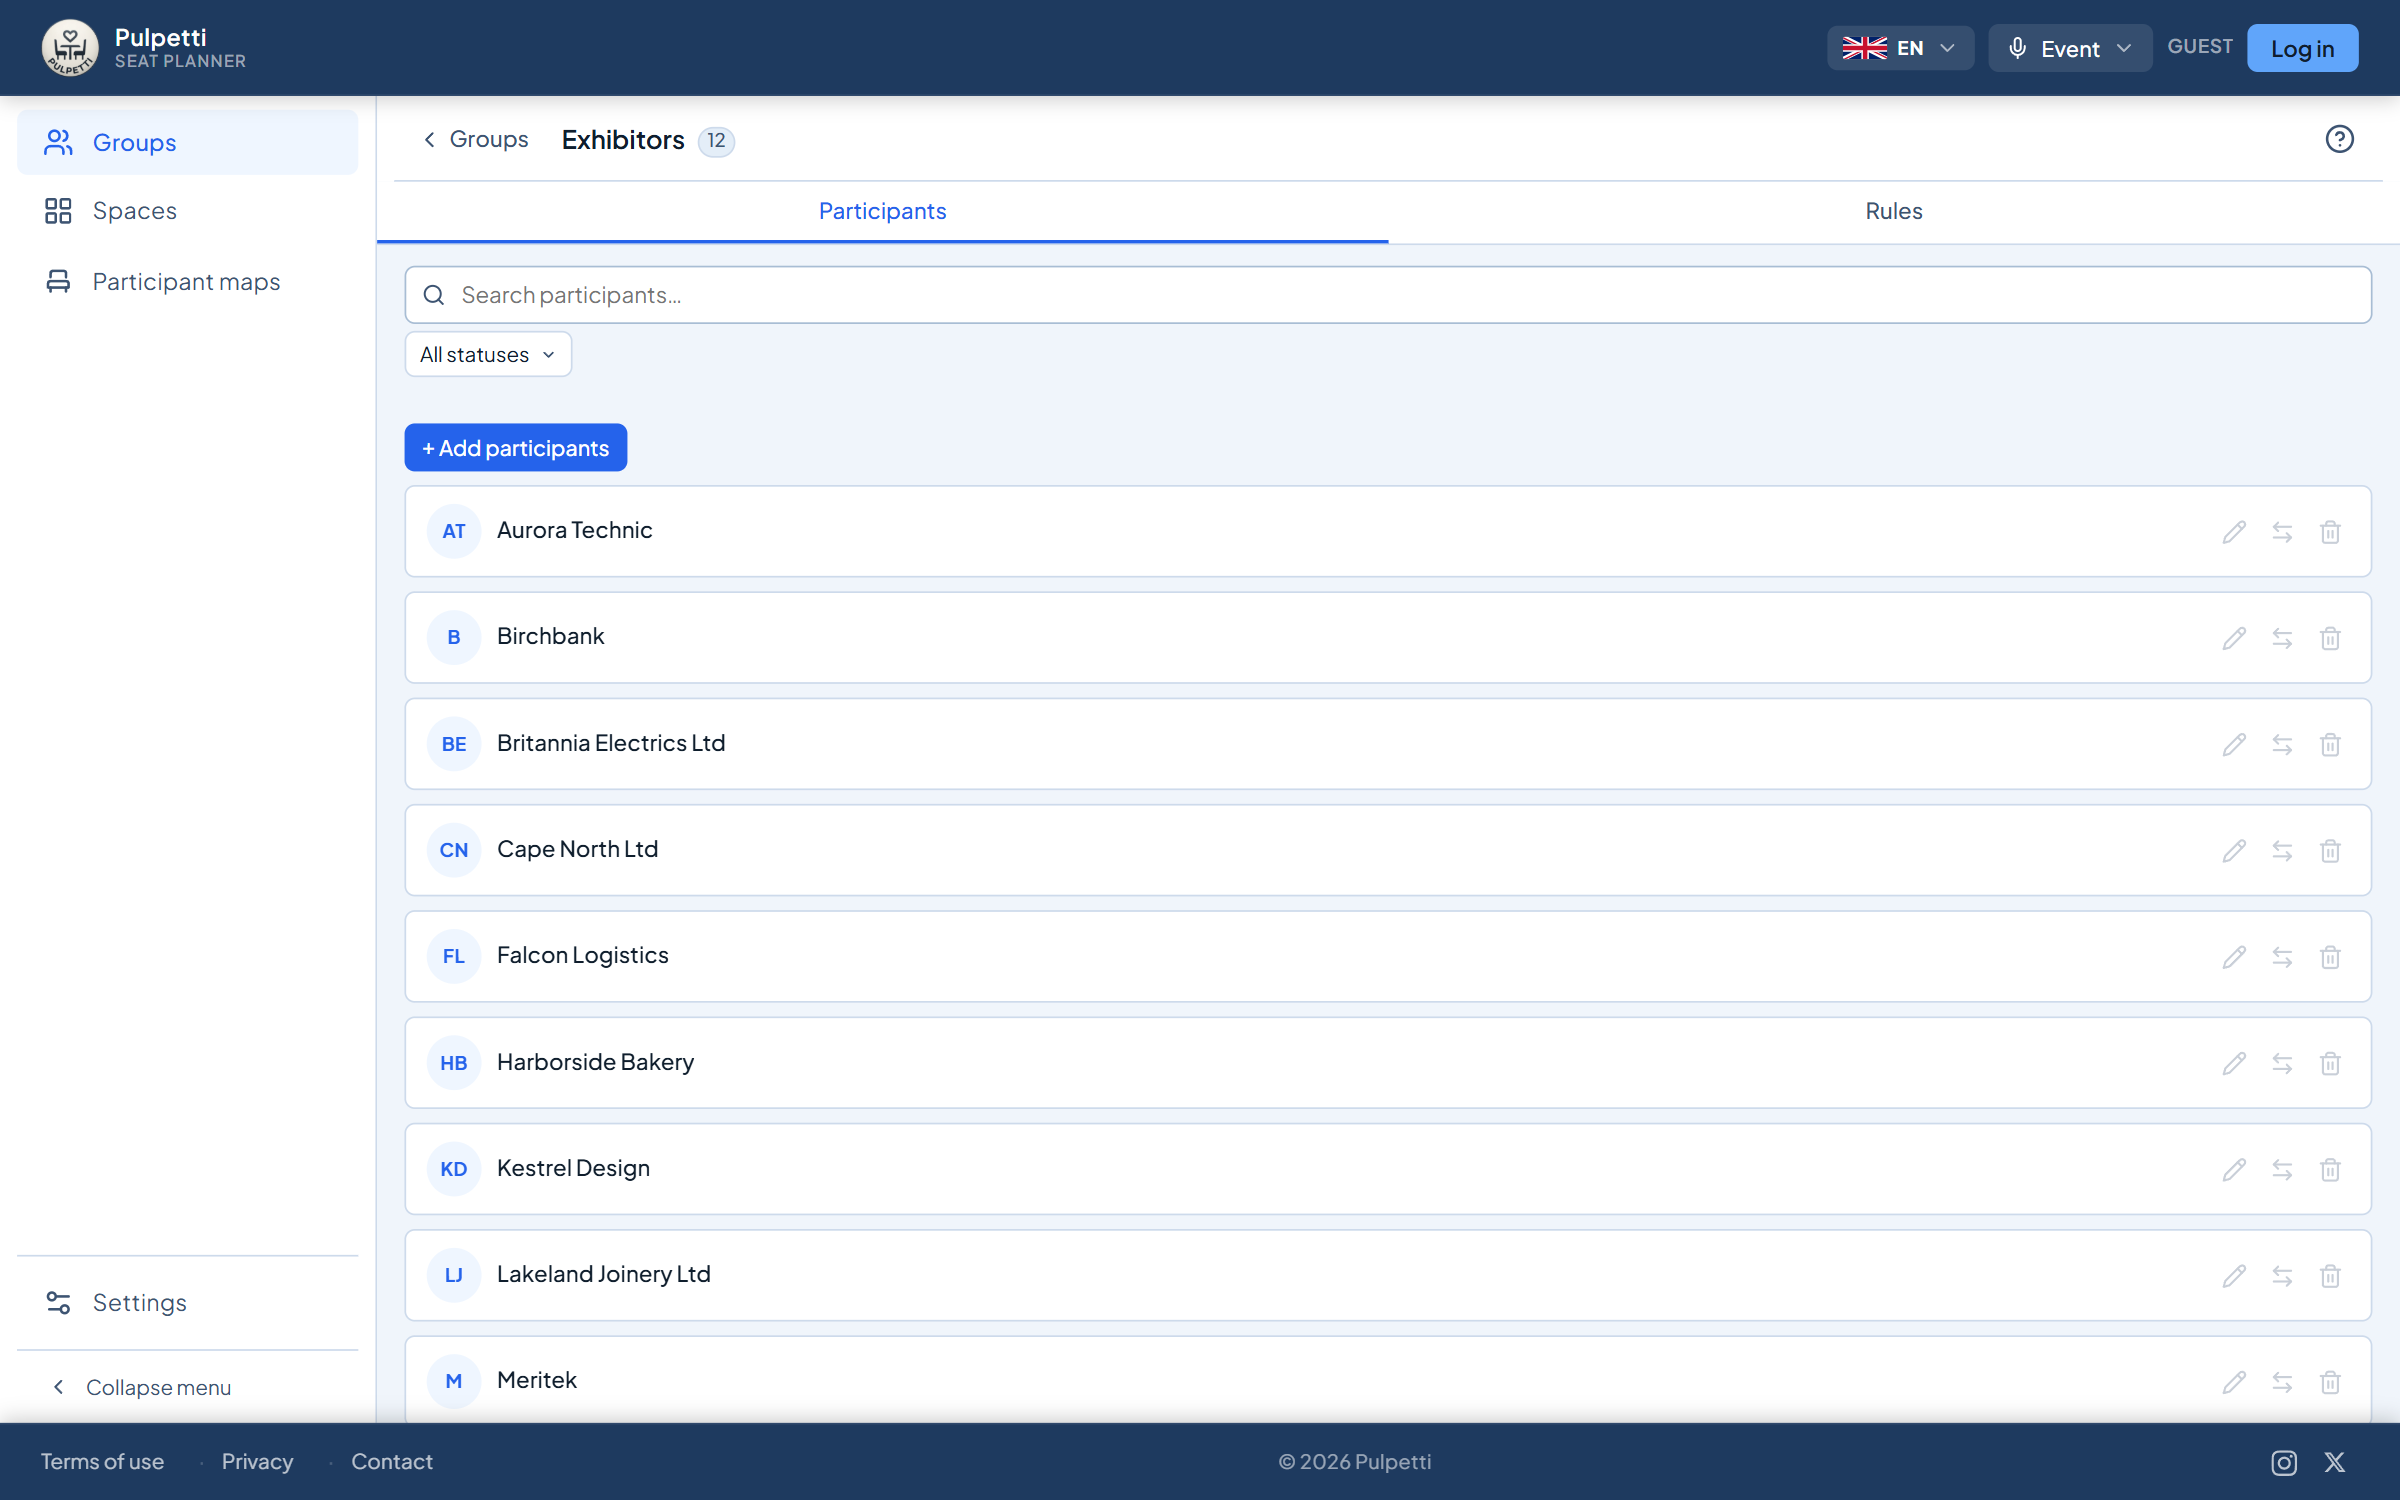
Drag the booths, food stalls and market stalls into place and adjust the size of each by its handles. There are more than forty objects included: entrances and gates, a marquee, information, a water point, a waste point, bicycle parking, trees and fences — plus safety markings from first aid to assembly point and fire exit.
Drag each company from the list onto its own booth; dropped on a booth that is taken, it changes places with it. One booth takes one exhibitor, and the name replaces the default heading on the plan: "#12 Company Ltd". Booths have a running number series of their own, so they do not mix with table numbers — and they are filled by hand: a booth is a named place, not a drawn one.
The area plan for visitors, staff and exhibitors, the alphabetical list for the information desk and booth signs for the site. The plan is also available as a PNG image for a brochure or a website. In presentation mode it opens full screen on the information desk's monitor — and that works on the free plan too.
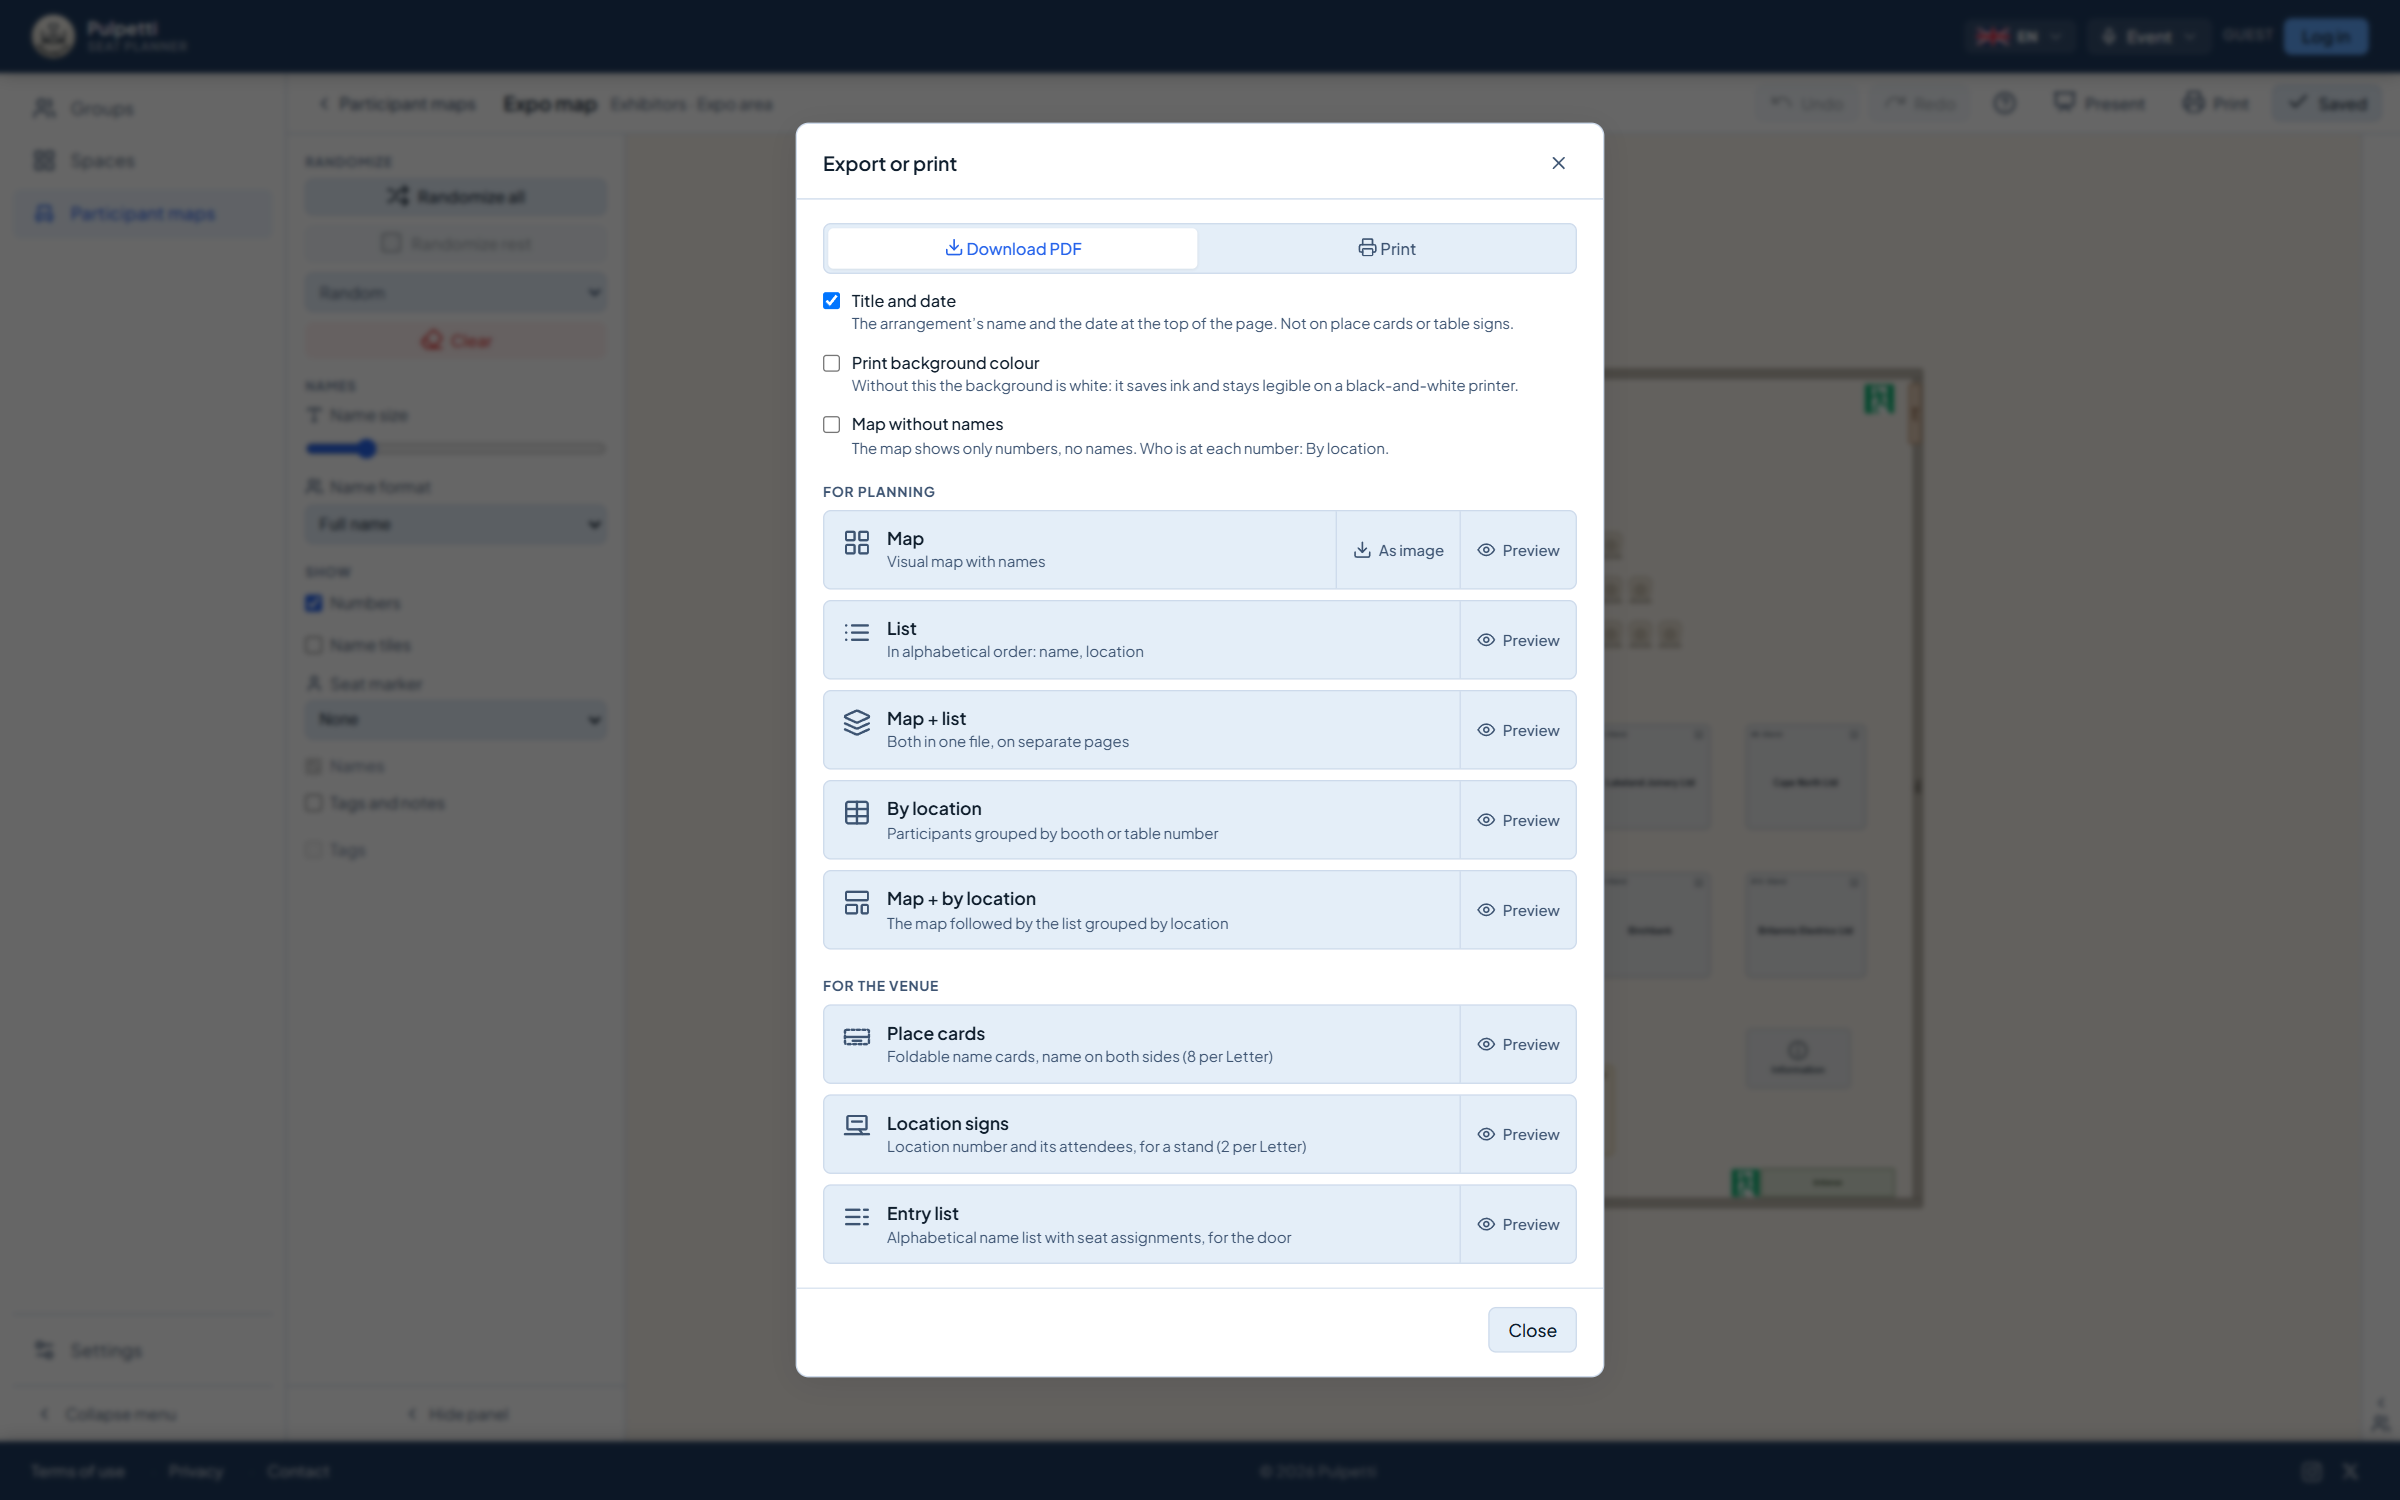
Three printouts that are actually needed on the day.
A floor plan with the number and the exhibitor's name written at every booth. In the visitor's hand, in the staff's pocket and in the exhibitor's inbox beforehand.
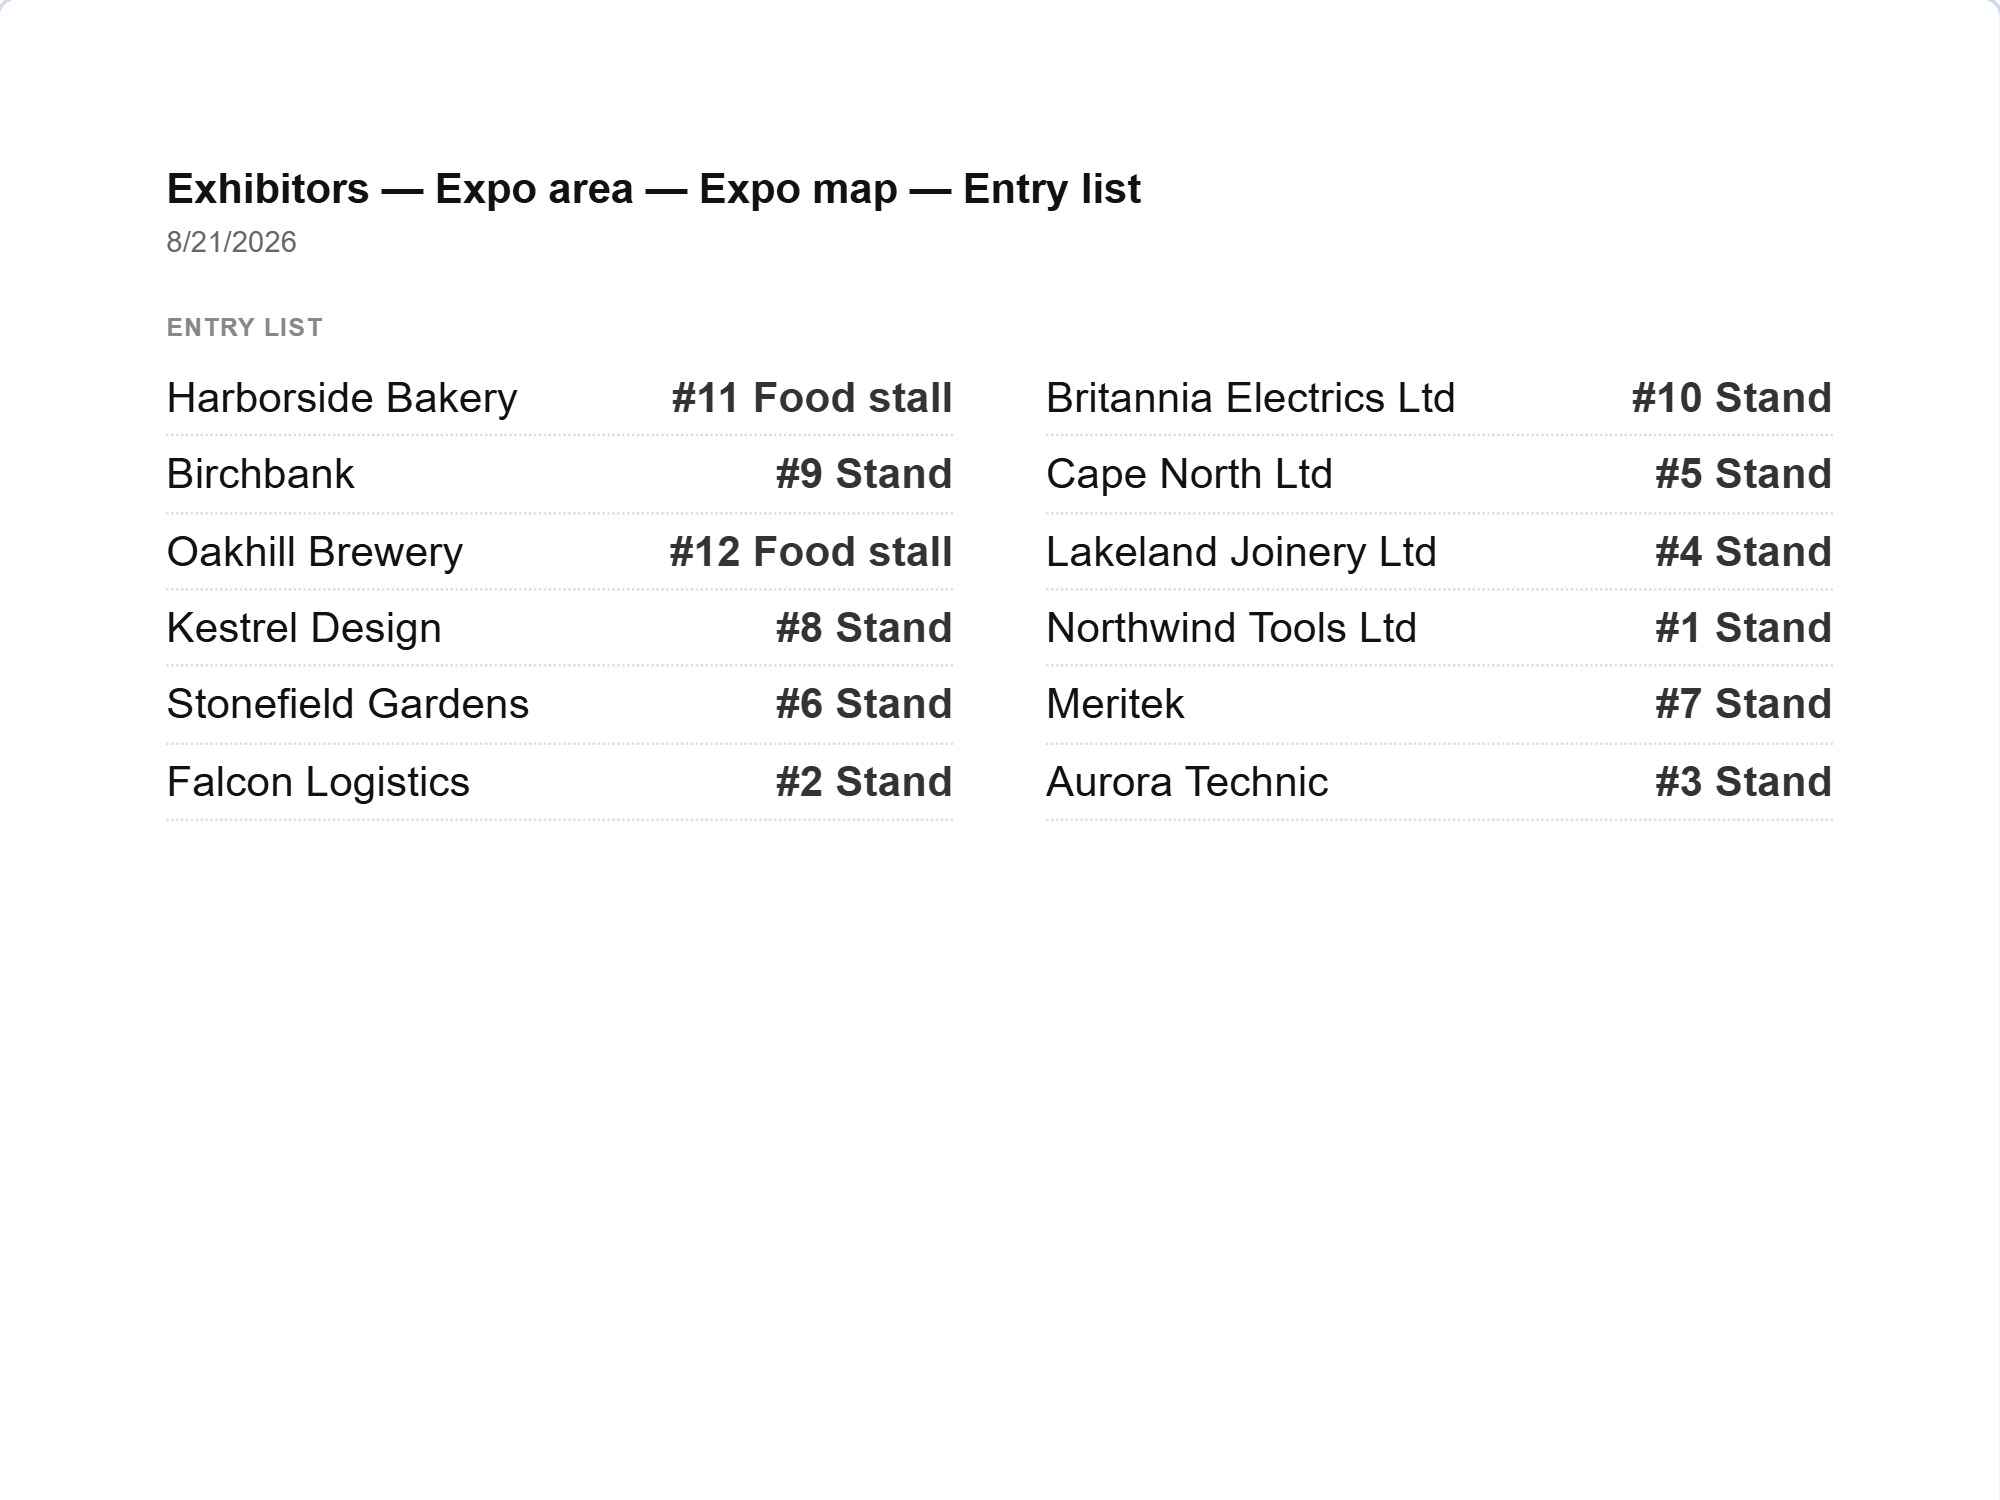
An alphabetical name → booth number list in two columns. For the information desk and beside the entrance.
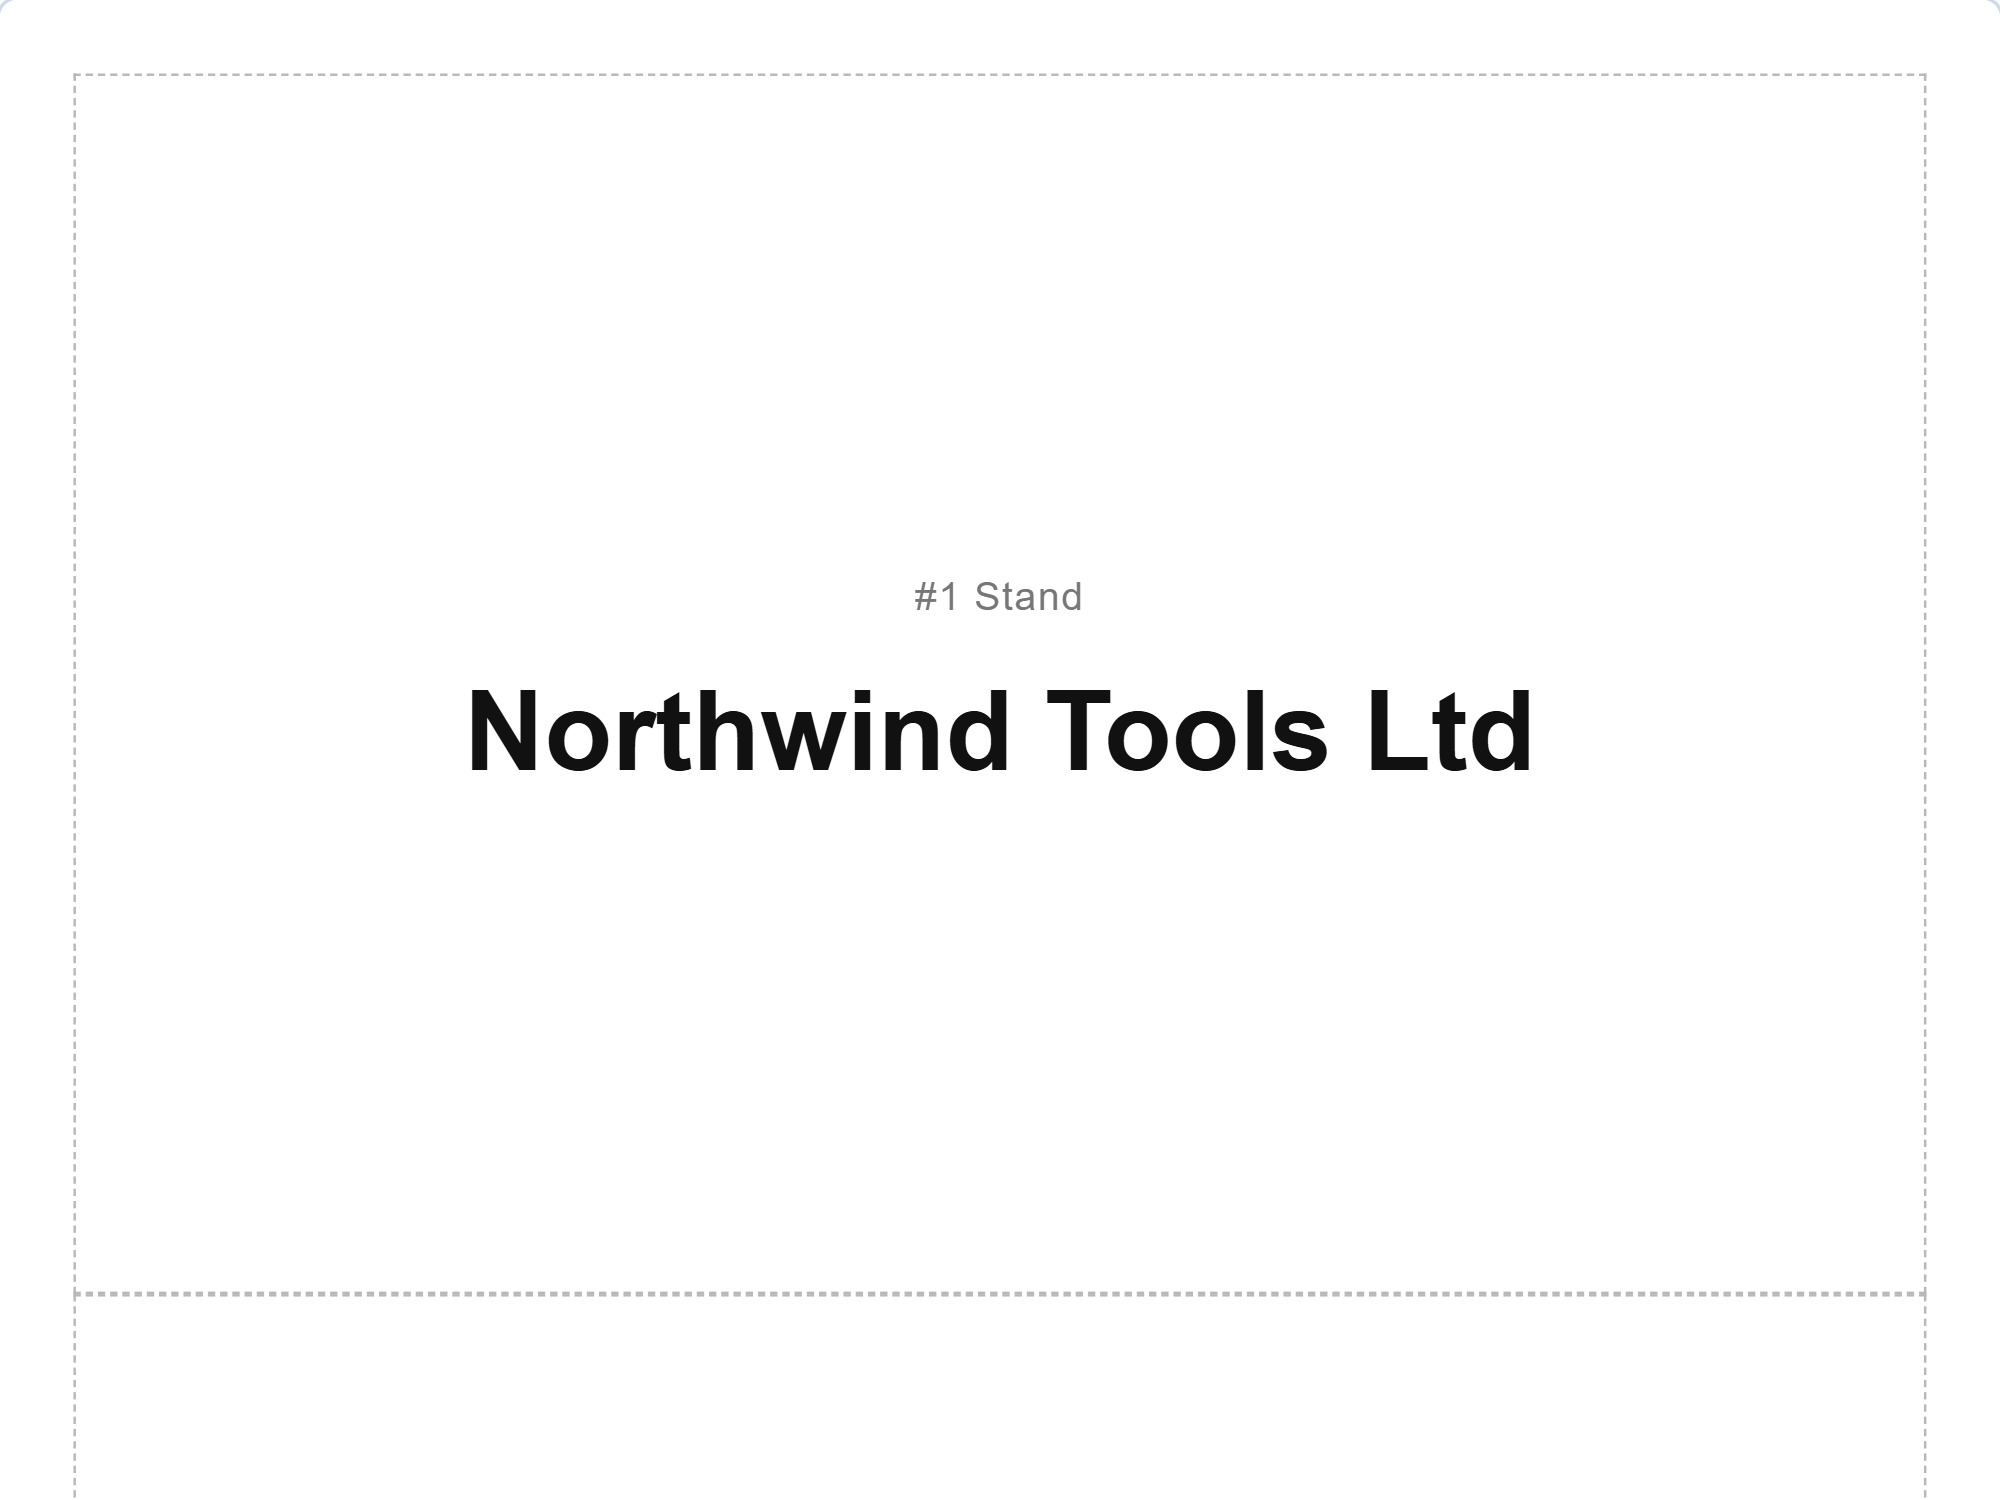
The booth number and the exhibitor's name on a standing sign. Two to a sheet, so a whole row's signs print on a few sheets.
You see a preview of every printout before printing. The PNG image suits a brochure or a website as it is, and next year's plan does not have to start from nothing: make a copy of this year's area and change what changes.
Booths in rows with aisles between them. The numbering runs by position, so a visitor finds booth 14 between booths 13 and 15 rather than on the other side of the hall.
Food stalls and market stalls as objects of their own, and a water point, a waste point and a marquee around them. Trees and fences at the right size for an outdoor site.
Fire exits, the assembly point, first aid and extinguishers are markings of their own in ISO standard colors. The same plan serves as an annex and as the visitor's guide.
The area stays in the app. Copy it, change the number of booths and the names, and next year's plan is ready without anything being drawn again.
From drawing the area to the finished printout — in one tool.
No. Booths and stalls are filled by hand, and that is deliberate: booth spaces are sold, agreed and negotiated, not drawn at random. Automatic seating and rules apply to seats — if the event also has a dinner or a seminar, those are handled in the same app, under the same purchase or subscription.
Automatically by position: top to bottom and left to right. Booths have a number series of their own, so they do not mix with tables even if both are on the same plan. You can also set the numbers yourself, and the automatic numbering then works around them.
You can. The plan is available as a PNG image, cropped to the content and with a background color of your choosing. The same plan also prints to A4 and as a PDF. Downloading the image belongs to the paid plans.
You can. The area tool works on its own: you draw the booths and stalls, the numbers run and the plan can be printed without a single name. The names are added once they are known.
It does. The outdoor objects are included: a marquee, trees and bushes at their real sizes, fences and gates, a waste point, a water point and bicycle parking. A tree and a bush are drawn from above with their canopies, so the plan shows how much room they really take.
One group, one area and one plan, plus up to 15 exhibitors. The full area editor, the objects and presentation mode are part of the free plan. Printing, PDF and downloading the image belong to the paid plans.
Aisle widths, steering the flow of visitors to the far end of the site and numbering that survives changes — the basics of area planning are in a guide of their own.
Read the guide: aisles, visitor flow and booth numbering →For a single trade show the one-off purchase is enough. A subscription is worth it if there are several events a year or if you use the app for seating charts as well.
€0
Permanent, not a trial
€4.99
One payment, does not renew · valid for 3 months
€2.49/ month
or €27.39 / year (€2.28 / month)
Prices include VAT. Charged in euros. At checkout you can pay in your own currency.
Also available for iPad.


Pulpetti came out of a practical need. I have helped organise a number of events, and the floor plan changes many times along the way. More exhibitors sign up, cancellations arrive at the last minute, so the plan has to be updated often and shared again each time with everyone involved.
My partner is a teacher, so I have seen the same work from the classroom side as well. I am a software developer by trade, and I decided to build a program that runs in the browser and lets you take the current plan out as a printout or a PDF every time it has changed. If something puzzles you or you want to suggest a new feature, write to me. I hope you like it!
Tomi NevalainenMaker of Pulpetticontact@pulpetti.com
Draw the booths, watch the numbers run and print the plan. No account needed.
Try it free